Mop-up Pads: Template and Sewing Instructions
Back to Main Page: Disaster Response at the National Gallery: Emergency Grab Bag
This is a step-by-step guide to making the mop-up pads that are used in some of the flowcharts.
You will need the following materials:
Polypropylene Fibre (the contents of a 4 litre capacity cushion)
GlovesandStuff
Activated Carbon Cloth (2 metres) Preservation Equipment
Black Polyester Thread (100m) John Lewis
Staples and Stapler (approx 60 staples) Robert Dyas
You will also need:
Dress-making scissors
Coloured dress making chalk
Dress-making pins
Sewing machine
Basic sewing skills
- Step-by-Step Guide to Making Mop-Up Pads
-
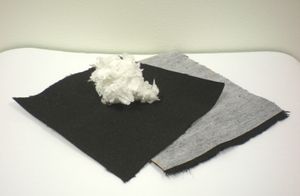
Step 1. Mark-up and cut out three pieces of the carbon cloth measuring 12cm x 12cm and open the polypropylene fibre cushion.
-
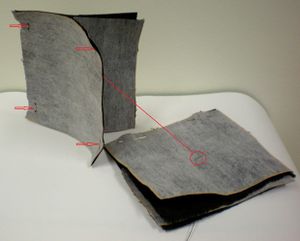
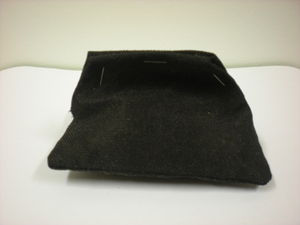
Step 2.This image shows two mop-up pads in progress. Pin together the cloth with the good sides-the outer surfaces- inwards. To do this, use one square of cloth as the base (good side up) and pin the other two squares (good side down) to either side of the base square and allow them to meet in the centre of the base cloth. Pin them together low in the centre but not to the base cloth.
-
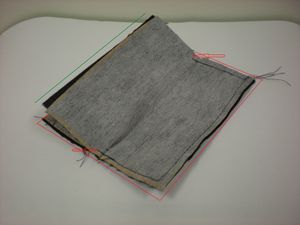
Step 3. Using a sewing machine, sew around the edges of the base square (shown in red). Sew over the ridge in the centre by a few millimetres to reinforce the sides (see red arrows). Leave the sides and top of the two pieces of cloth in the centre unsewn (shown in green).
-
Step 4. Remove all the pins and turn the cloth construction inside out.
-
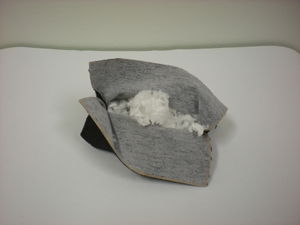
Step 5. Fill it with polypropylene fibre but do not over fill so that the base is distorted. It should stay as flat as possible at the base.
-
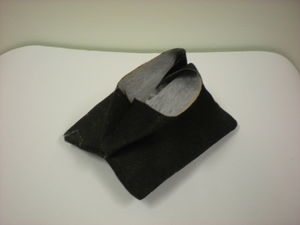
Step 6. Fold over the centres of the middle cloths.
-
Step 7. Staple the edges with three staples or hand sew them(machine sewing this edge would cause damage to the good side of the cloth due to the sewing machine foot).
-
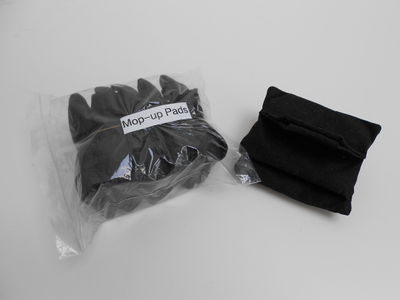
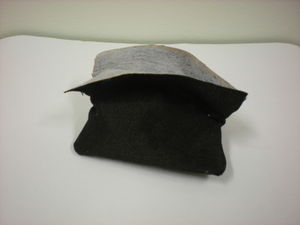
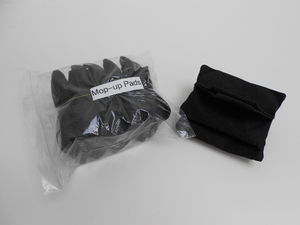
Step 8. You now have a finished mop-up pad.
-
Step 9. Store the mop-up pads in a plastic bag to prevent the fibre being abraded by other items.
